Water collecting on driveways, walkways, or open areas is more than an inconvenience. It can damage surfaces, create safety risks, and weaken structures over time. This blog gives you clear, step-by-step guidance on how to install a channel drain correctly. You will learn where channel drains work best, how drainage channels are installed, common mistakes to avoid, and how systems like the Sintex DrainX HDPE channel are designed for effective surface water management.
If water stays on the surface, it will gradually destroy even the most durable of materials, like concrete and tiles, and also impact the soil. Besides that, slippery floors and flooded pathways are also safety risks. That’s the reason drainage channels are utilised to rapidly and safely take the surface water away.
When a channel drain is well installed, it can facilitate a smooth flow of water, last for a long time even with minimal maintenance and will not give you many troubles. A poorly installed system can block flow even if the channel quality is high.
What is a channel drain, and how does it work?
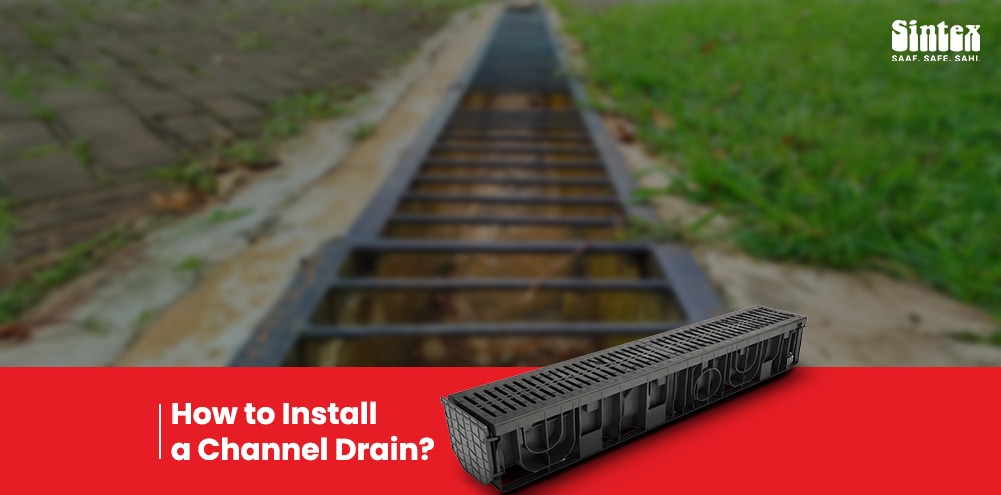
A channel drain is a long, narrow drainage system placed at ground level. It collects surface water and directs it toward an outlet or underground drainage line.
Modern drainage channels are designed with smooth inner surfaces to reduce resistance. Systems like theSintex drainX HDPE channel use HDPE material, which helps water flow faster and improves durability.
A DrainX channel works best when installed with the correct slope, alignment, and outlet connection.
Ideal Locations to Use Channel Drains
Before installation, it is important to know where channel drains are most effective.
Common use areas include:
Driveways and parking areas
Walkways and footpaths
Building entrances
Balconies and terraces
Sports grounds and open yards
Industrial loading zones
In all these areas, drainage channels help prevent water buildup and surface damage.
Tools and Materials Required
You do not need complex equipment, but preparation is important. Basic requirements:
Channel drain units such as Sintex drainX HDPE channel
Grating suitable for the load type
Concrete or mortar
Measuring tape and level tool
Cutting tools, if length adjustment is required
Outlet connectors and pipes
Using modular systems like the drainX channel makes extension and alignment easier.
Step-by-Step Guide to Install a Channel Drain
Below is a clear and direct installation process.
Step 1: Identify the Water Flow Direction
Find the natural slope where water flows. The channel drain must guide water toward an outlet point.
Step 2: Mark the Installation Area
Mark the length and width of the channel drain on the ground. Ensure straight alignment.
Step 3: Excavate the Trench
Dig a trench slightly wider and deeper than the channel size. This allows space for bedding and concrete support.
Step 4: Prepare the Base
Create a firm base using concrete or compacted sand. The base must be level with a slight slope toward the outlet.
Step 5: Place the Channel Units
Place the DrainX channel units in sequence. Ensure tight connections between sections.
Step 6: Connect the Outlet
Attach the outlet to the underground drainage pipe. Check that water can flow freely.
Step 7: Secure with Concrete
Fix the sides of the channel using concrete. This keeps the drainage channels stable under load.
Step 8: Install the Grating
Once the concrete sets, place the grating. Ensure it is level with the surrounding surface.
Installation Depth and Slope Explained
Slope is critical for performance. Recommended guidelines:
Maintain a gentle slope toward the outlet
Avoid flat installation without a gradient
Ensure the channel top aligns with the finished floor level
Smooth inner walls of the Sintex DrainX HDPE channel help water move efficiently even at low slopes.
Common Installation Mistakes to Avoid
Many drainage issues come from installation errors, not product quality. Avoid these mistakes:
No slope provided
Incorrect outlet connection
Using weak base support
Blocking the channel during concreting
Choosing the wrong grating load class
Correct installation allows drainage channels to perform as designed.
Channel Drain Types and Load Considerations
Not all channel drains are the same. Selection depends on traffic load. Light load areas:
Walkways
Residential balconies
Medium load areas:
Driveways
Parking zones
Heavy load areas:
Industrial yards
Commercial loading bays
Systems like Sintex drainX HDPE channel offer grating options suitable for different loads while maintaining structural strength.
Comparison Table for Installation Areas
Area of Installation
Load Requirement
Recommended Channel Type
Residential walkway
Light
Standard drainX channel
Driveway
Medium
Reinforced drainage channels
Parking area
Medium to high
Sintex drainX HDPE channel
Industrial floor
Heavy
Heavy-duty channel system
This table helps you decide the right channel drain based on usage.
Conclusion
Installing a channel drain is a practical way of dealing with the water on the surface. The main thing is the right planning, accurate slope, and solid installation.
Drainage channels work best when aligned with natural water flow and fixed on a strong base. Systems like Sintex drainX HDPE channel are designed to support smooth flow, long service life, and easy maintenance when installed properly.
If you follow the steps and avoid common mistakes, a drainX channel system will protect surfaces, improve safety, and reduce water-related damage. Explore Sintex surface drainage solutions for effective and reliable water management.
Channel drains are ideal for driveways, walkways, entrances, terraces, and open areas where surface water collects.
They do. Basically, any drainage system, even the most efficient, will have to have a bit of a slope for the water to flow smoothly towards the outlet.
Yes. Sintex drainX HDPE channel systems are UV-resistant and suitable for outdoor environments.